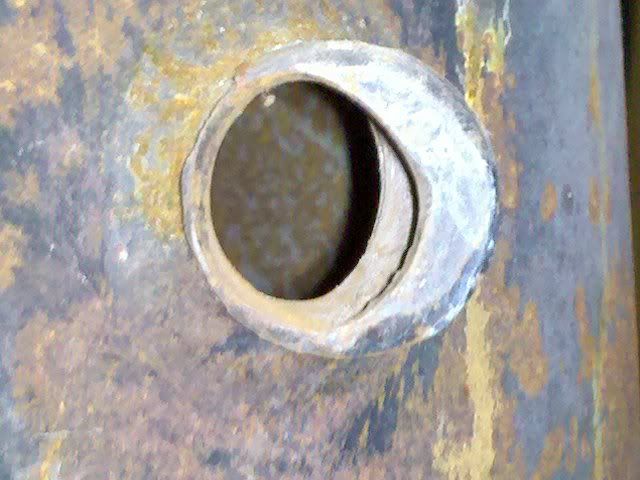
Off center hole in shaker handle boss
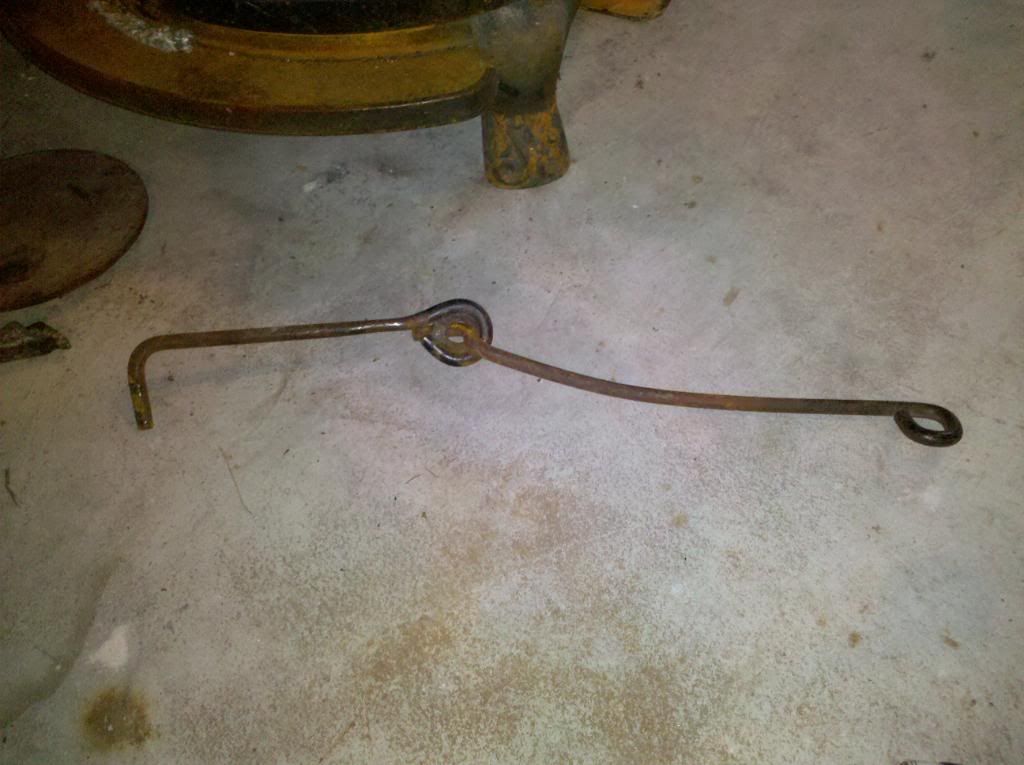
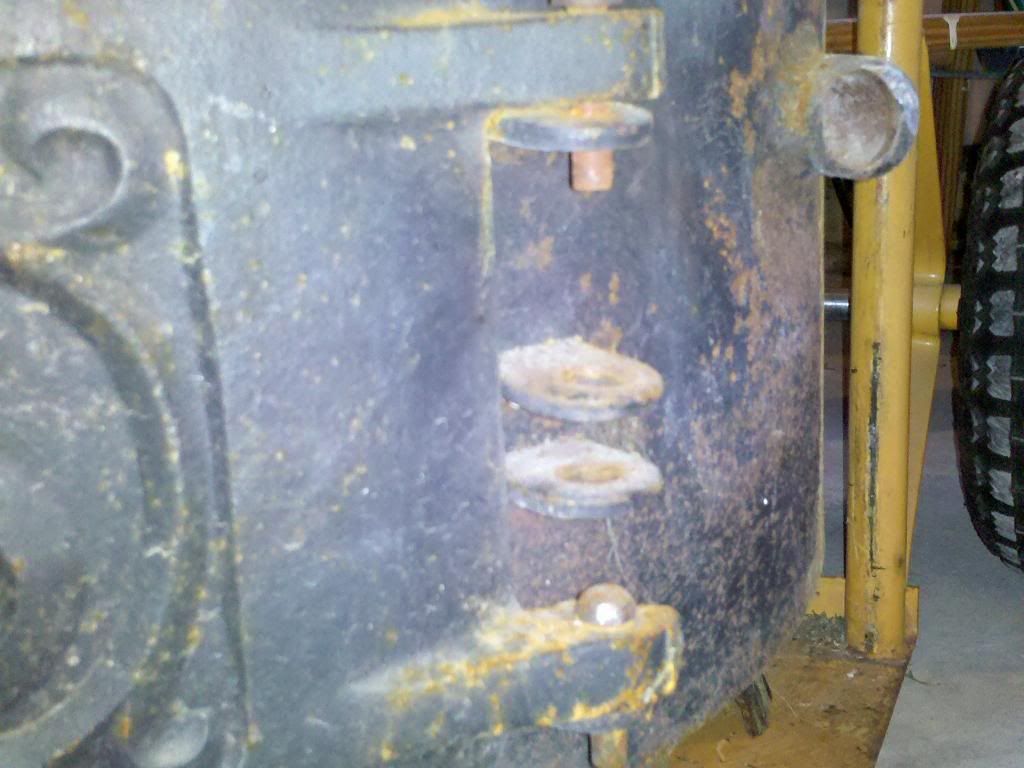
Is this how the shaker linkage is supposed to go? These two pieces were just sitting inside.
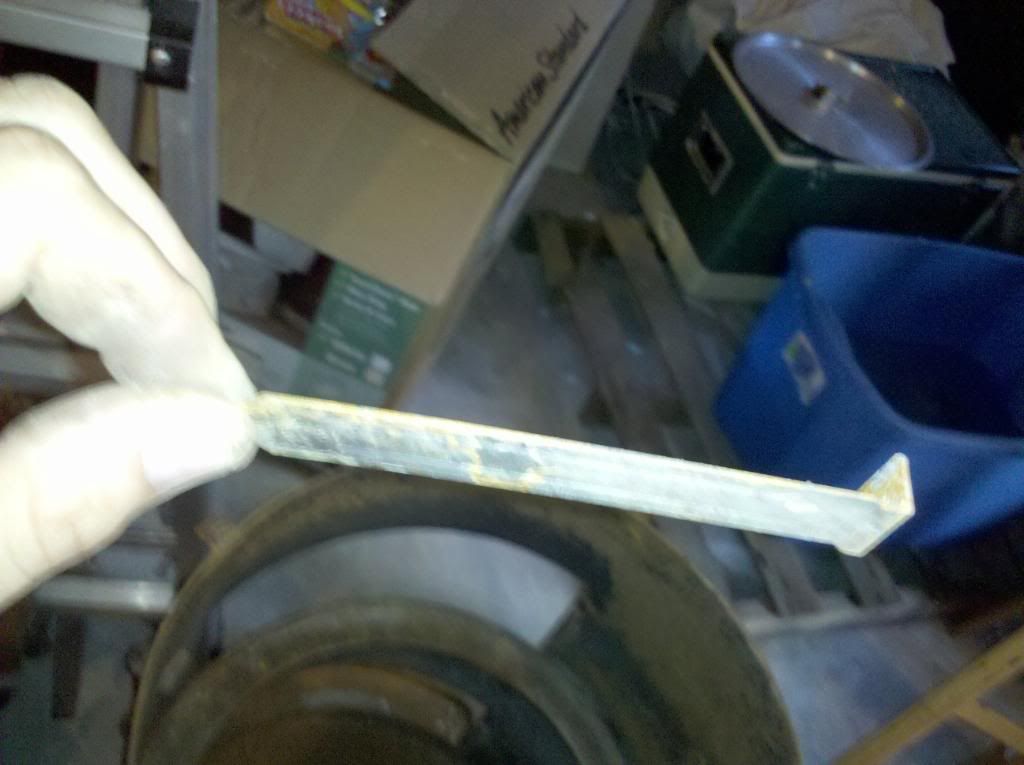
And what is this bracket?
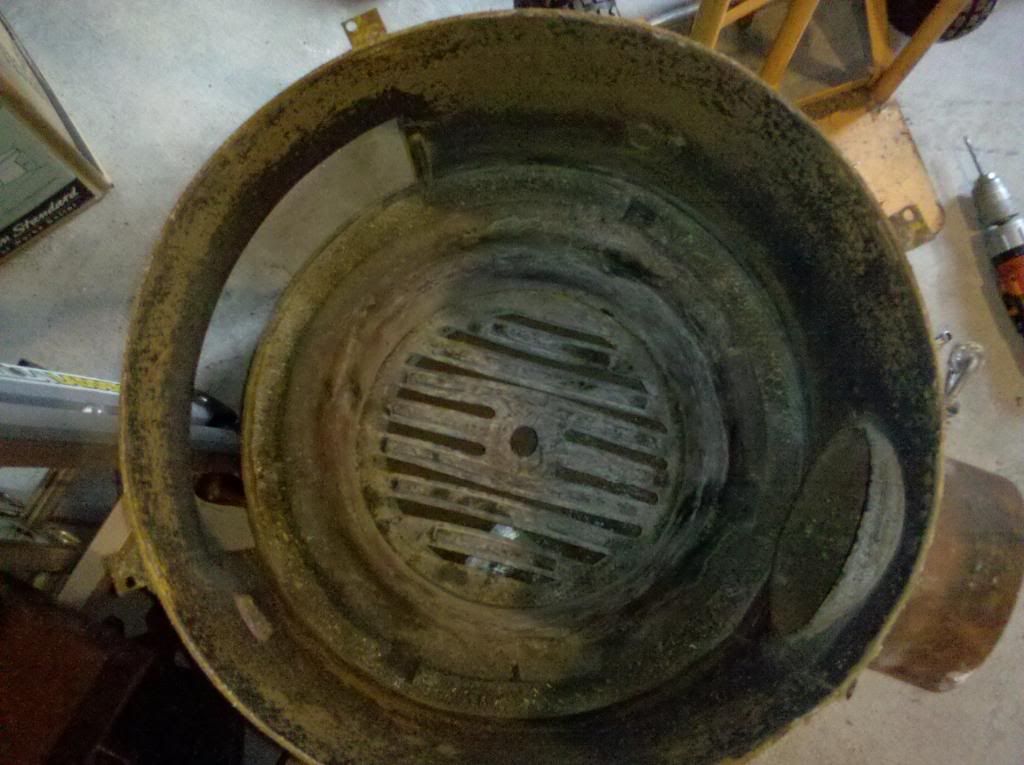
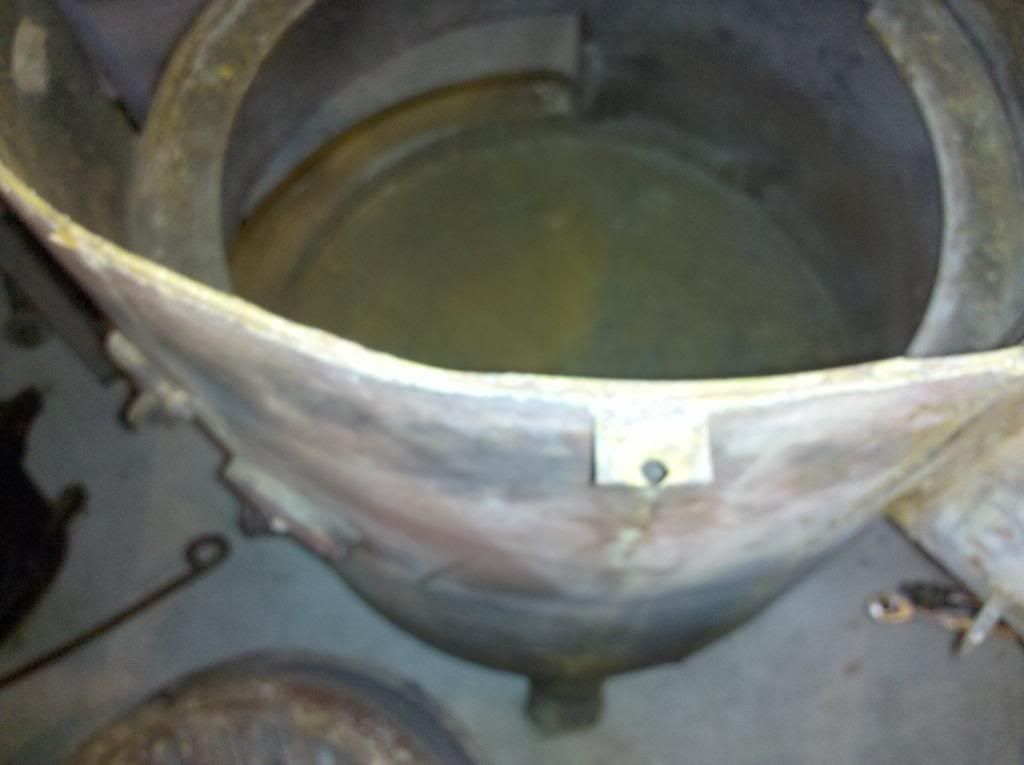
Top off!
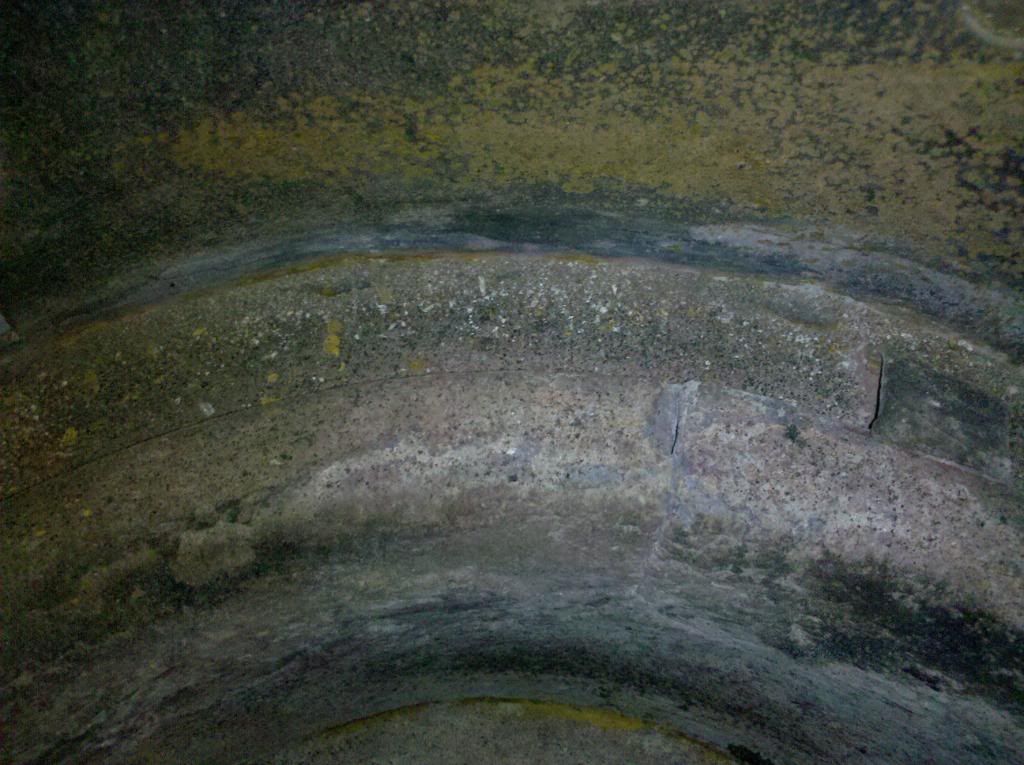
Crack in fire pot.
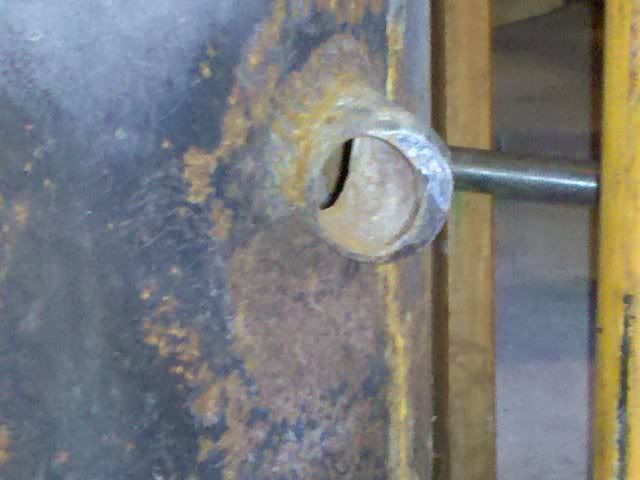
Is this out of round situation going to be a problem? And should I do anything about the hole? The bolts more or less lined up so maybe it's not a problem?
Found this under the ash pan. Does it go to the stove?
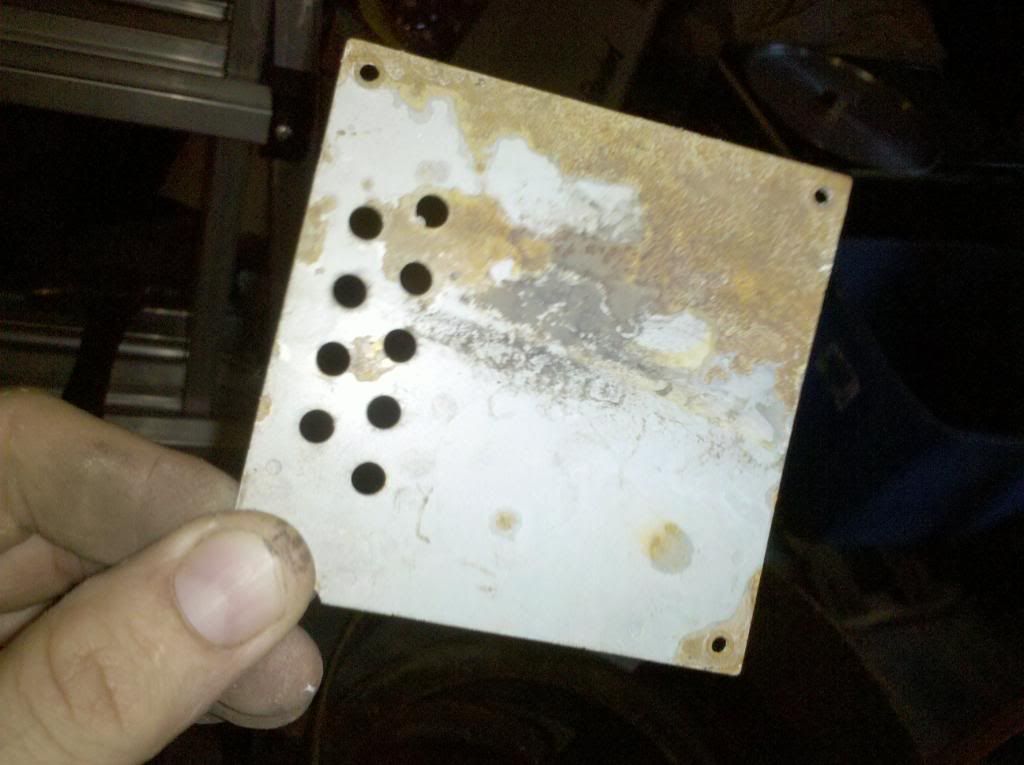
And it seems this guy was burning computers or something. This is one of the block off plates from a computer case. It was under the ash pan too.
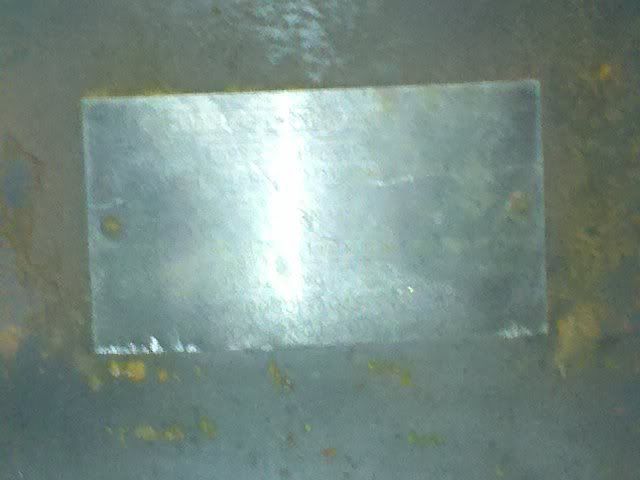
And the data plate seems to have been painted over too.