I got it home and wiped it down
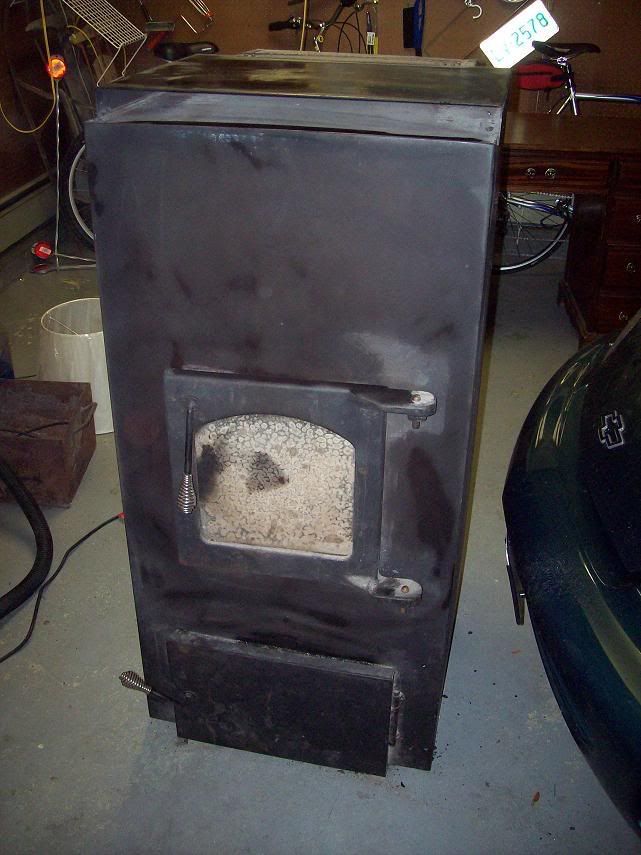
So tonight I tore it all apart and started at it
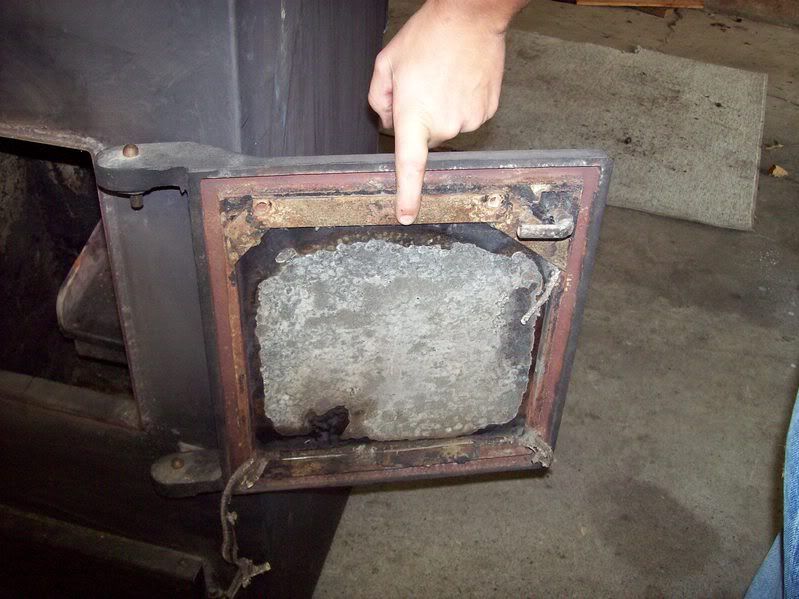
No matter what I used, that crap on the glass would NOT come off. Even broke razor blades. So I took a wire wheel to it HAHA
Its crap. I might buy a new one.
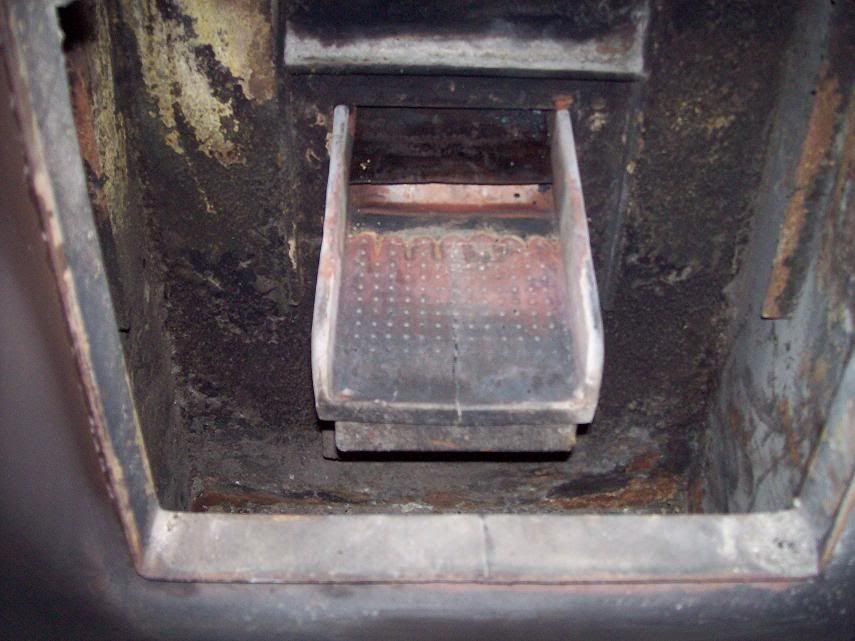
As you can see in the above pictures the grate was cracked. Not a big deal. 95 bucks at the dealer. Picking that up saturday along with new gaskets.
Whats this gasket with the metal rod going thru it?
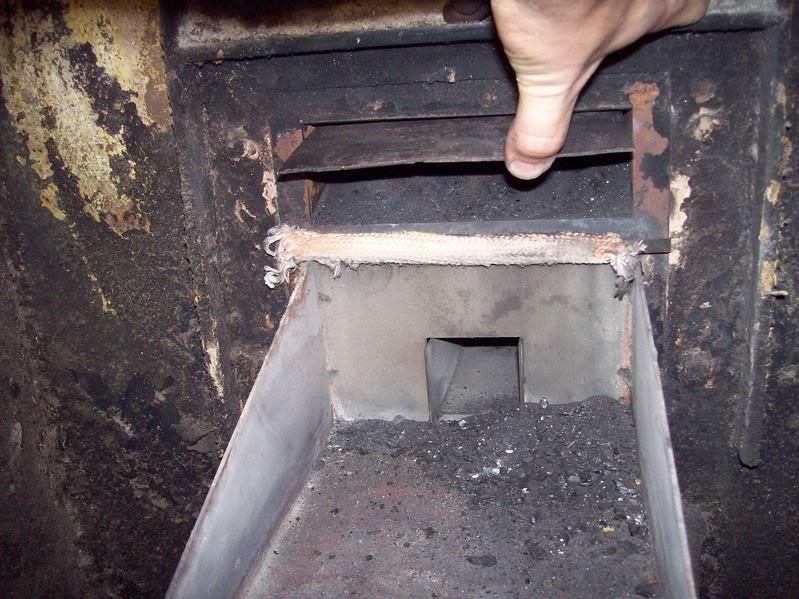
Hopper gasket was pretty rough and even missing in a spot
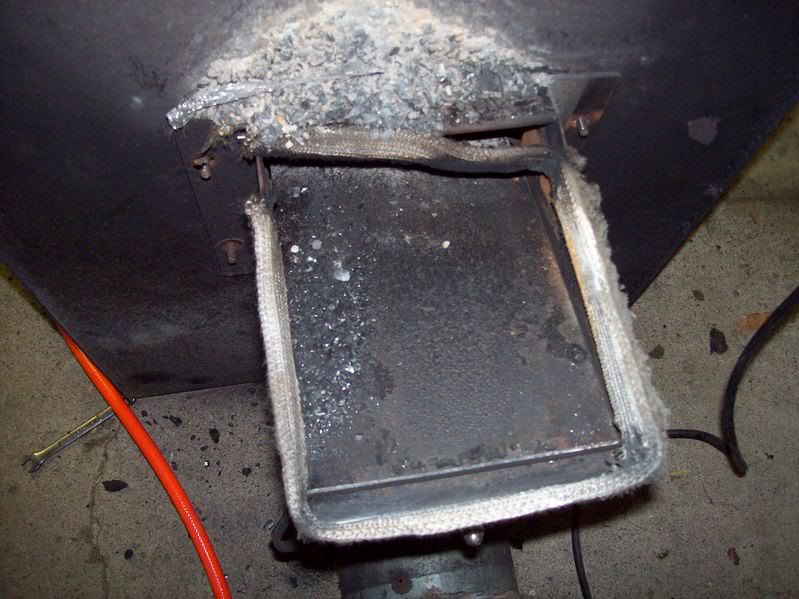
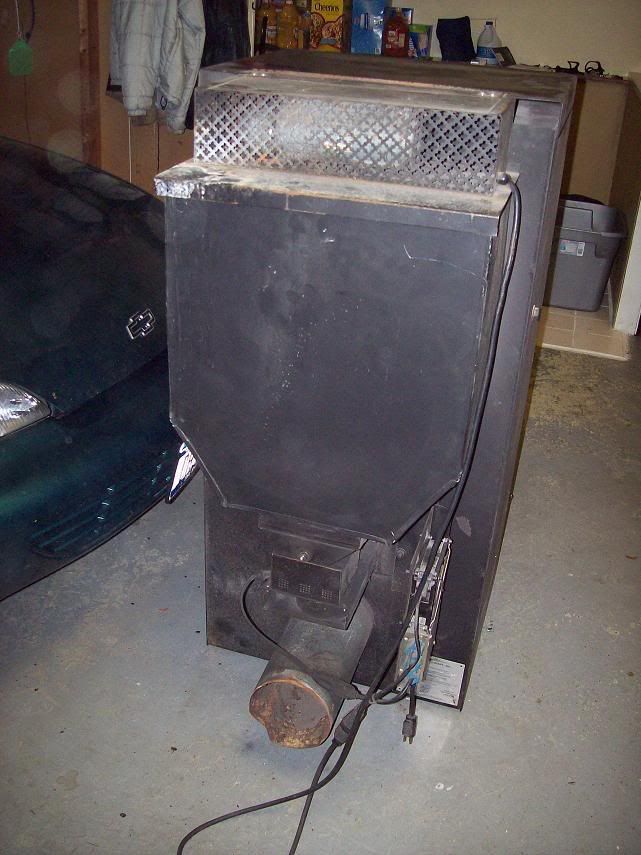
Took the stoker out and a part. This part is just hanging out there. How do I know where to adjust that?

Me at work
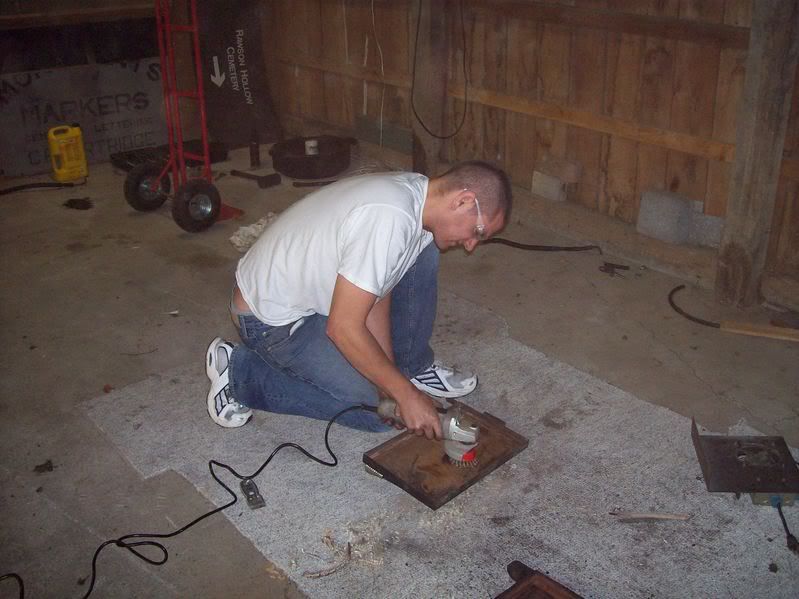
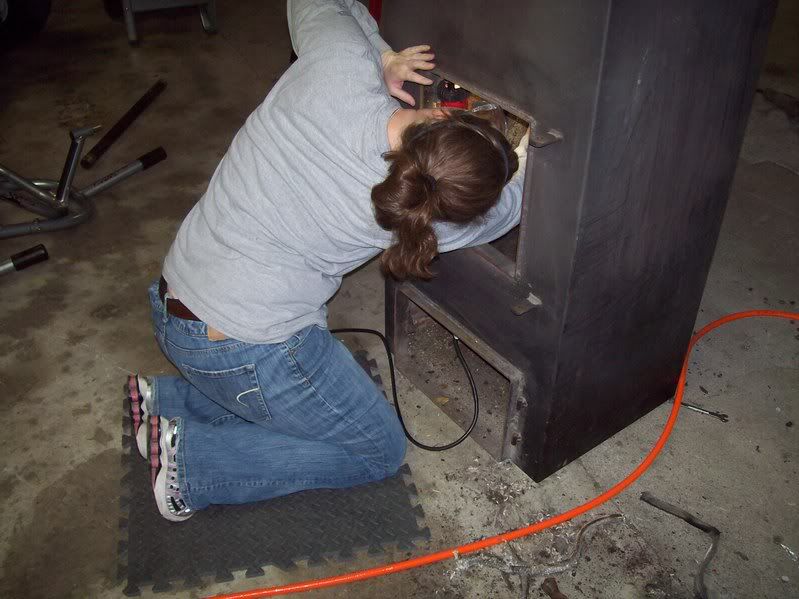
Take notes fellas.. I even got my girlfriend in there working
I spent 2 hours cleaning the inside.. pictures coming of that tomorrow. I took them but my camera sucks and they weren't on it.
Tommorrow night I am finishing the dirty work, sanding it down, and painting it in the hottest rustoleam I can find. Black inside and out of course. I was going to do silver on the inside but I doubt the paint on the inside will hold up. Silver will just get dirty and crappy anyways.
If that glass wasn't 65 bucks I would buy a new one just so that it was in better condition that mine is.


